Stamps are fun to use in your images. A stamp can contain one or many images in the same file. You use them much the same way as you would use a stamp and ink pad (pre computer days). Stamps are saved in .ufo format with transparent backgrounds and can be used to dress up your images. They are also nice to share with your fellow users.
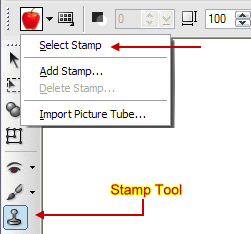
Let's start by using one of Ulead's stamps so you can become familiar with how they work. Open a new image 300x300 with a white background. Click on the Stamp tool. On the pop-out menu, pick Select Stamp. Notice how the menu bar changes to show the options related to the stamp tool.
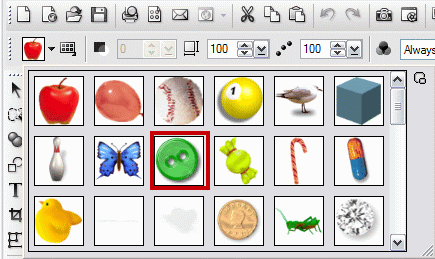
When the selection window opens, you'll see all of the stamps on the Stamp Menu. Look at the green button. There appears to be only one button in this stamp, right? Click on the stamp to select it.
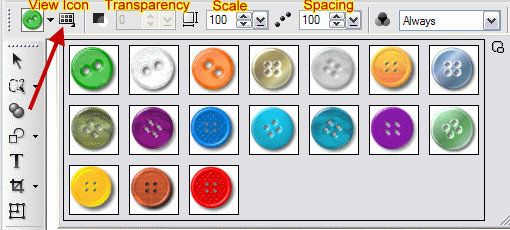
Now click the View icon - you can see that even though the Stamp Menu shows only one button, there are quite a few buttons included in this stamp.
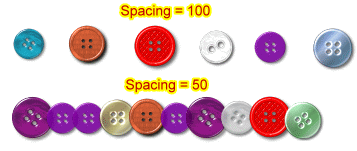
Each time you use a tool, the menu options change to the ones that are associated with that given tool. These are the options that are associated with the Stamp tool. The scale makes the stamps either larger or smaller. Change the Scale to 50. Hold down the left mouse button and drag your mouse across your image. As the stamp tool stamps, there is a gap between the buttons. To get them closer together, change the Spacing.
Let's change the spacing to 50 and repeat the above. Your stamps no longer have a gap. There is no specific formula for Size/spacing, it depends on your particular stamp. The remaining menu options are beyond the scope of this tutorial but feel free to either check the Help files and play around with them.
If you have not already done so, create a folder on your hard drive for your stamp files (.ufo files) - do not create it in the Ulead folder. A good name would be MyStamps. You can store all your stamp (.ufo) and tube files (.tub) in that folder.
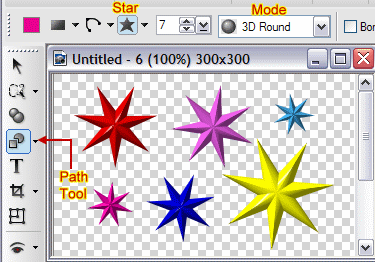
Open a new image, 300x300 with transparent background. Select the Path Tool and the Star. This tutorial shows 7 points, you may want more or less. Draw a single star (not too big) in a color of your choice. Press the Enter key to de-select the star, pick a new color and draw another star in a different size. Repeat this until you have 6-8 stars in your image. You may use either the 2D Object or 3D Round mode.
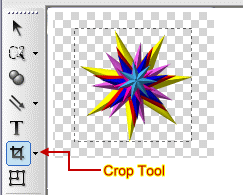
Stack all your stars one on top of the other (as shown below), Use the Crop Tool crop to crop your image close to the edges of the largest star. Click File\Save and navigate to your stamp folder. Save this file in .ufo format and close the open image. You have just created your first stamp file. Note: It is not necessary to stack your stamps, you may leave them just as you created them if you like. It's a matter of preference.
So far, we have practiced using stamps, we have created our own stamp, and now it's time to add our new stamp to the Stamp Menu. Click on the Stamp tool. This time, pick Add Stamp on the menu.

Navigate to your stamp folder, select your new stamp and click Open. Now look in your Stamp Menu - you'll see your new stamp! Notice that it only shows one stamp in the set.
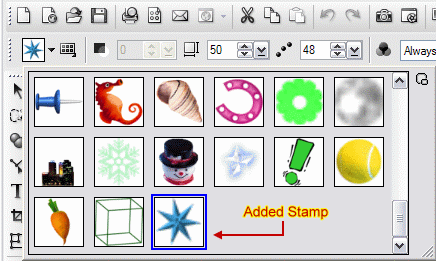
Click the View icon and you'll see all the stamps in that set.

The stamps all appear to be the same size in the above view but they are actually whatever size you used when you created them.


 along with you to mark your place.


